Math Art: Learning about Circles with Bubble Prints
There are lots of different ways to explore shapes with your kids. So why not get creative? (And gloriously messy?!) Because I love using art as a way to teach and discover math concepts (and because it helps me to be intentional about letting my kids get messy and creative, something that I do not naturally want to do), I decided to make a batch of bubbles and let the kids “paint” with bubbles. We then used our creations to talk about circles and spheres, as well as measure to see who made the biggest bubble print! Exploring math with bubble art was such a hit with my kids, they continued to create long after the “lesson” was over!
*Please Note: Some of the links in this post are affiliate links and help support the work of this site. See our full disclosure here.*
Materials Needed for Bubble Art Prints:
There are a lot of different ways to go about painting with bubbles. I didn’t actually do any research before we started, I just played around with what we had on hand to find what works. For some different ideas, check out this post (although some of these techniques don’t make nice circles that you can measure after, but they do make fun art projects!)
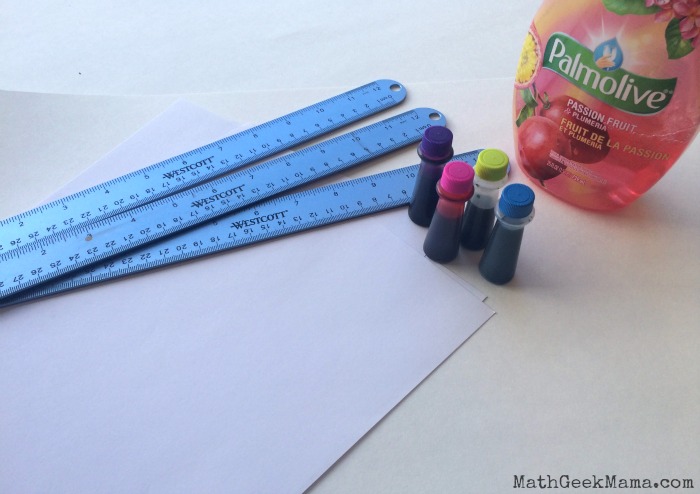
- Dish Soap (or bubble mix
)
- Water
- Plastic cups to mix the bubbles
- Food coloring
- Poster board or card stock (these will hold the colors better and will not fall apart when wet like printer paper, though we used that as well)
- Bubble wands (or straws)
I didn’t actually measure to mix up the bubbles (I’m more of a dump stuff in and see what happens kind of girl), but if you’d like a “recipe” check out this post for proper proportions!
Once you have a variety of colors of bubbles, start creating!
To Make Bubble Art Prints:
Because part of our goal was to make circle prints, we tried some different techniques to pop the bubbles on the page.
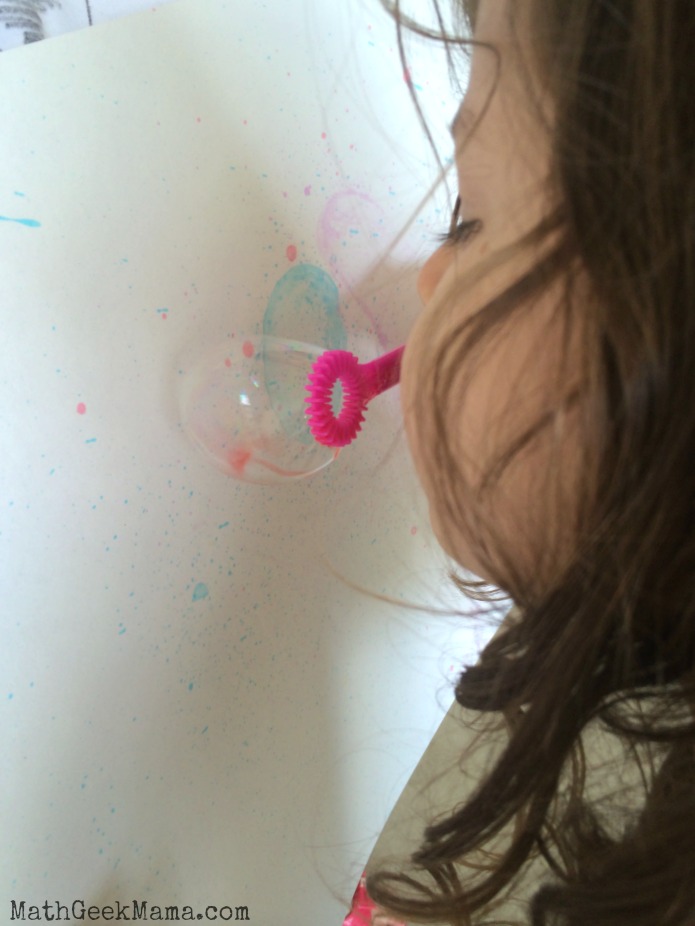
First, one child held the poster board up and the other kids tried to blow the bubbles onto it. This worked okay, but it was hard to get the bubbles to land on the poster.
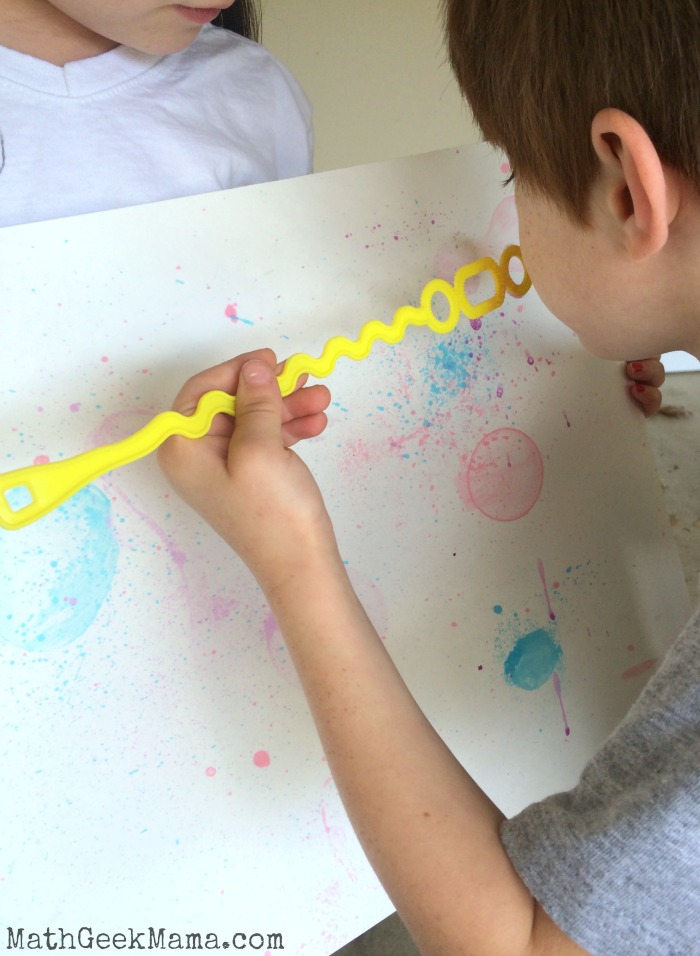
Then, we simply laid it on the ground and the kids were able to get close and get the bubbles onto the poster without them blowing away.
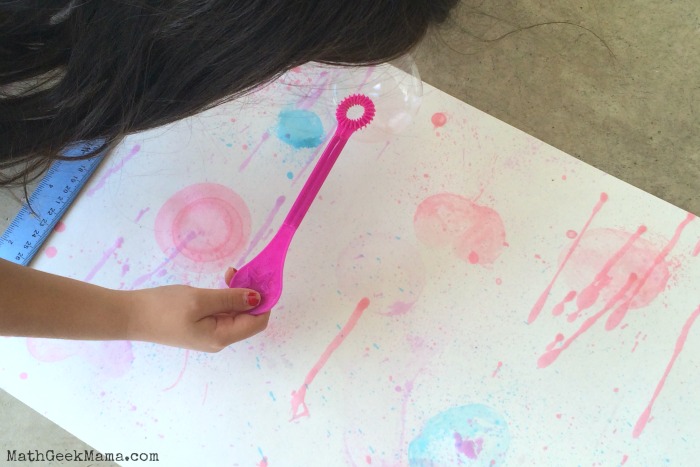
The kids had so much fun trying different things and making observations. For instance, if the bubble popped quickly, or right off the wand, it simply splattered and did not form a circle on the poster.
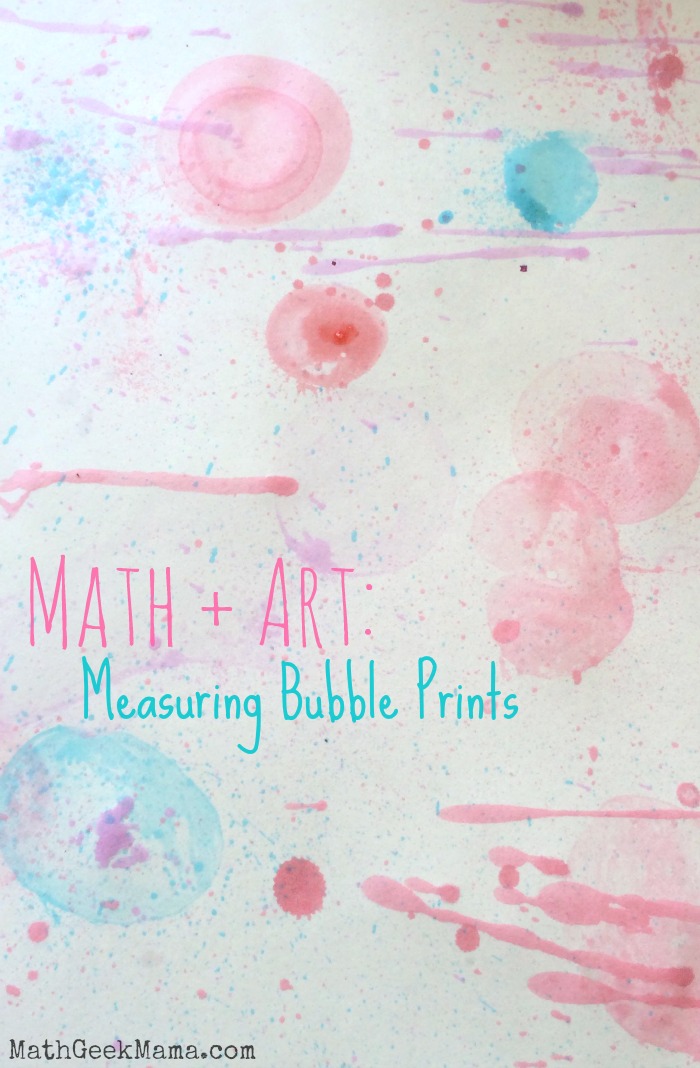
However, if we were able to get the bubble to land on the poster before popping, it formed a nice ring!
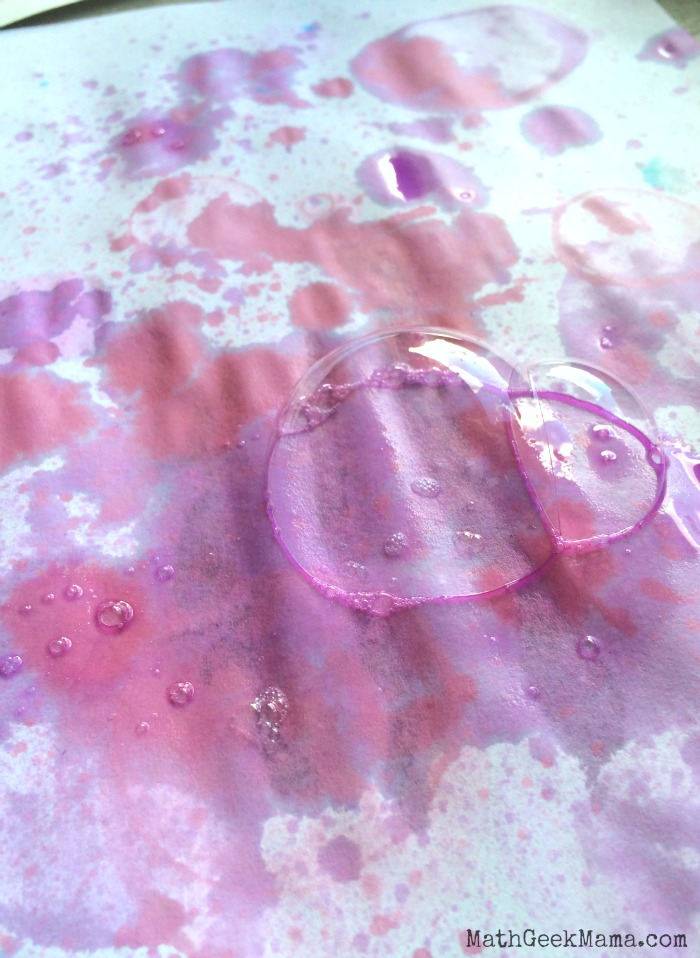
And then others would pop on the paper and form a much more subtle, filled in circle.
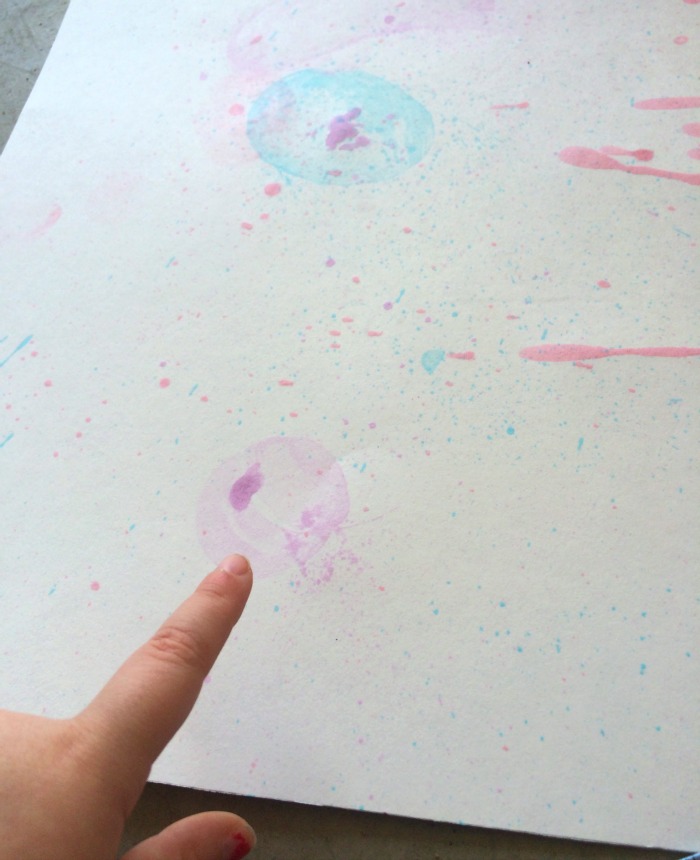
This was SO fun for my kids, but it was a tab bit messy so I would suggest doing this activity outside. Although, it was also somewhat windy, which sometimes caused the papers to blow around or made it difficult to get the bubbles to land on the paper.
But honestly, I’m positive this bothered me more than it bothered the kids. 😉
The Math In Our Bubble Art Prints:
After our large poster dried, we looked at it together and talked about the different circles that formed. We noticed that some prints weren’t actually circles, and we were able to discuss what actually makes a circle a circle.
(The book The Greedy Triangle is also a great way to have this discussion!)
We also talked about the bubbles before they popped, and they observed that they weren’t flat. I explained that the bubbles were spheres, but once they popped on the paper, they made circles.
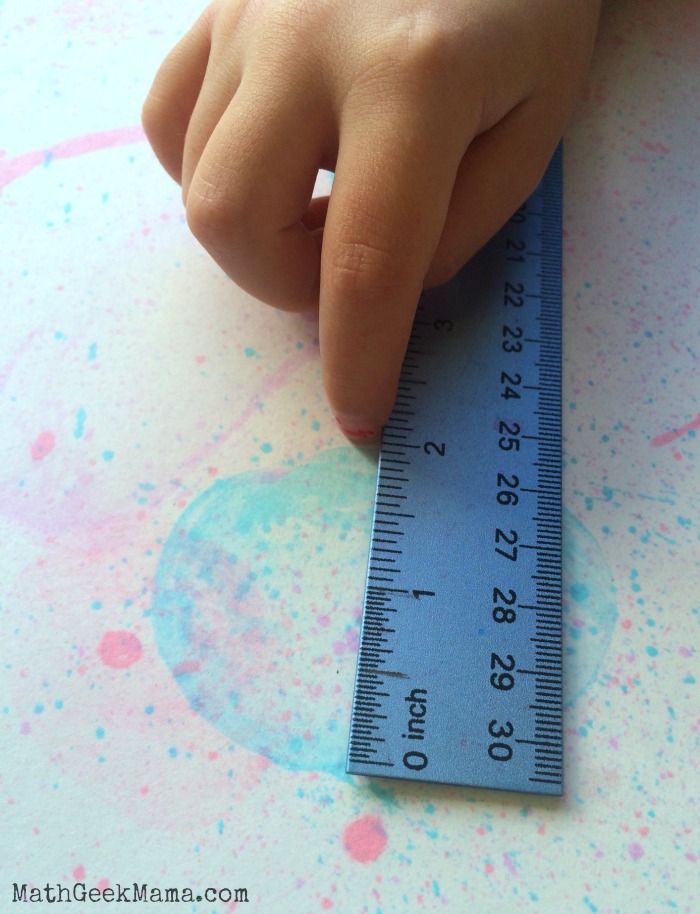
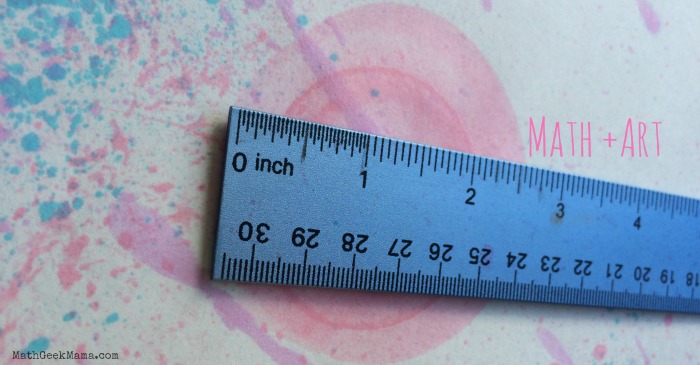
Then, we used our rulers to measure the diameter of various circles. We decided to have a contest to see who could make the biggest circle, so we based this on the diameter.
Because my kids are young, we measured to the nearest inch and half inch, but if you have older kids this could be a great opportunity to measure more precisely, as well as measure the circumference and explore the number pi.
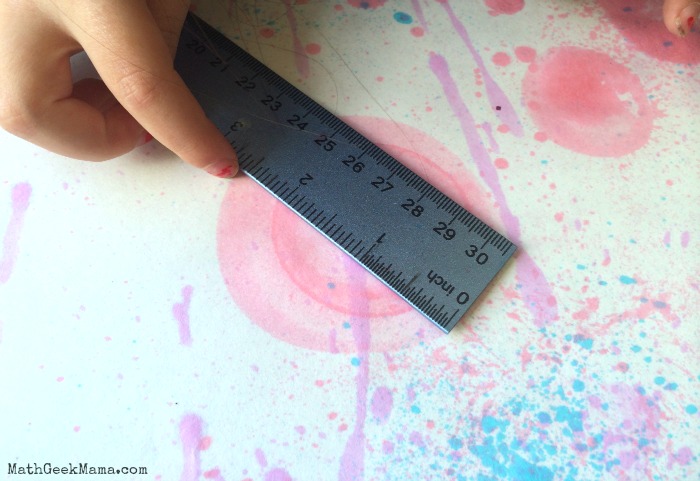
Although we did have some pretty small circles, we weren’t able to get much bigger than 2-2.5 inches in diameter.
We used bubble wands to blow the bubbles, but I’m wondering if using straws would help us make bigger prints? And perhaps using tempera paint or watercolors
rather than food coloring would help make more distinct circles?
Who knows, maybe that will be an investigation for another day! 🙂
Have you ever tried painting with bubbles with your kids? If the weather is nice where you live, I highly recommend it!
Looking for more ways to explore circles and shapes? Try one of these lessons:
- Shape Scavenger Hunt (Free printable!)
- Exploring Triangles
- 10 Ways to Explore 3D Shapes
Plus, if you subscribe to my FREE email newsletter, you can grab a FREE lesson pack to use with the book, Sir Cumference and the Dragon of Pi to explore circumference and diameter further!



I love this. seriously I do.
Thank you! My kids sure loved it! 🙂
I never tried “Bubble Math” before, but I can see how this would get kids interested. What kid doesn’t love bubbles?
We love bubble art. We like to fill a bowl with a bubble solution + food coloring, then stick a straw into our solution and blow. The bubbles get really big. Then we put a piece of paper on top on the bowl. If you have three bowls with different colors, and put your piece of paper on each bowl, you will end up with a colorful painting. We didn’t measure our circles in the past, but I’m totally using your idea next time we do it and turn into a math lesson.
Oh that’s an awesome idea! We’ll have to try that method next time!! Thanks for the suggestion! 🙂
We tried bubble prints in the past and it didn’t work out for us but your post makes me want to try again. I love the designs the bubbles leave on the paper. And I LOVE your idea to add in a little math too! Thanks for sharing at the Thoughtful Spot!
Yes it did take some trial and error, but I think that was the kids’ favorite part! If you try it again, I’d love to see some pics! 🙂