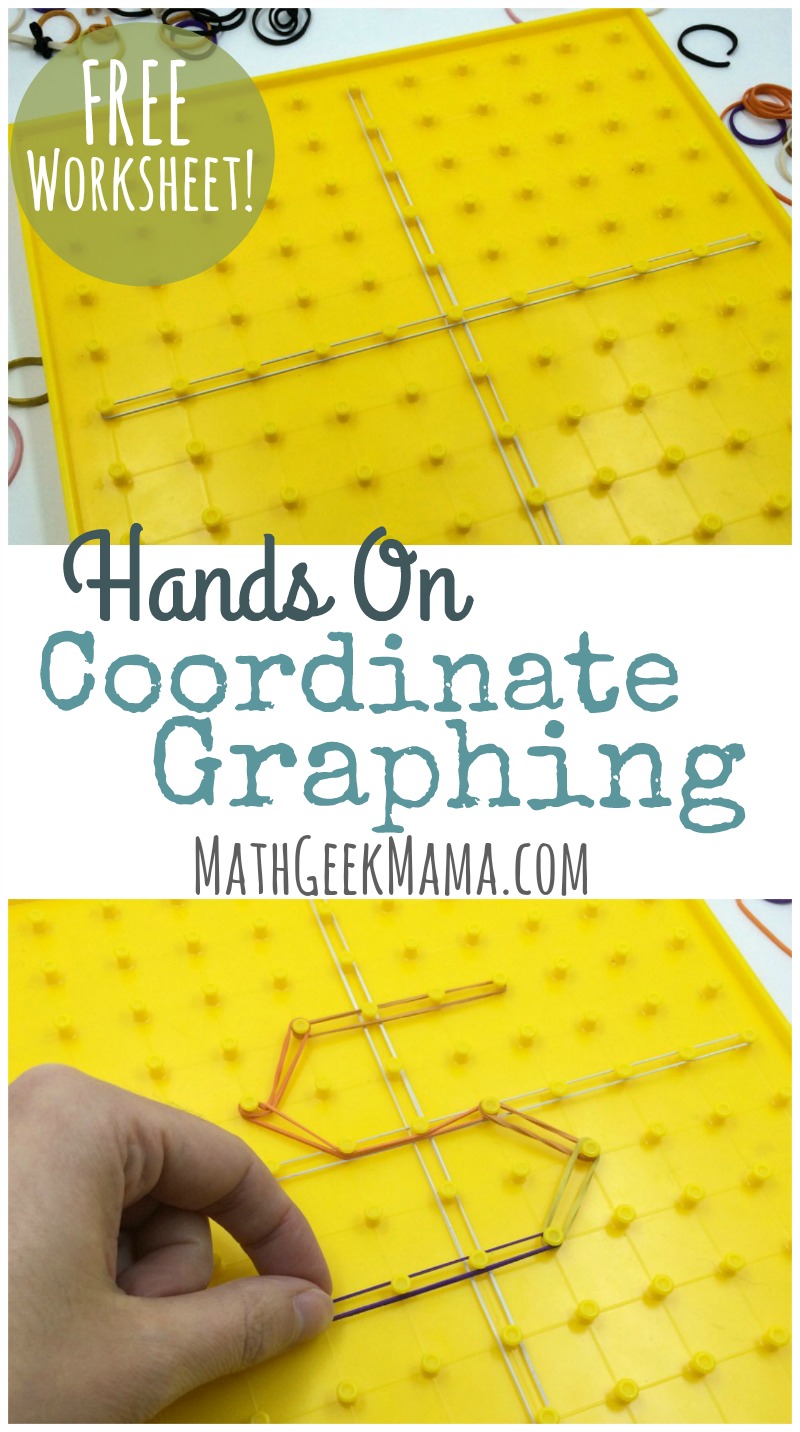
Simple, Hands On Coordinate Graphing Worksheet
Plotting points on the coordinate plane is one of those concepts that seems so simple, yet can be so challenging for kids who are just learning. Yet this is a crucial skill if kids are to be successful in higher level math! While this means it’s going to require a lot of practice for kids to get the hang of it and feel confident, it doesn’t mean that practice has to be boring. Today, I want to share some fun and simple ideas for graphing using a geoboard. This coordinate graphing worksheet can then be a springboard for more hands on graphing fun!
*Please Note: This post contains affiliate link which help support the work of this site. Read our full disclosure here.*
Why Use a Geoboard to Plot Points?
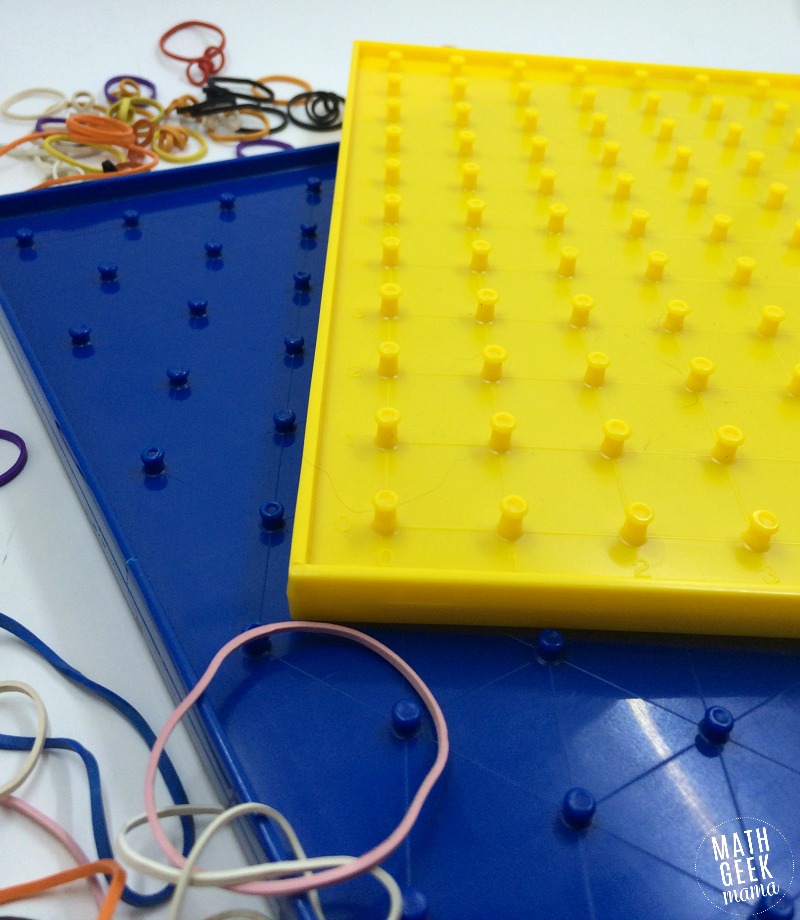
I’m guessing you have at least one geoboard lying around your classroom. While these are great tools for learning and exploring math concepts, they are often neglected.
They can be very effective though, for a variety of reasons!
First, exploring graphing with a geoboard provides a concrete model for students to begin with. They can then proceed to pictorial and abstract models, increasing understanding and retention.
Second, it provides a fun and engaging experience that will keep students more involved in the learning (which in turn keeps them motivated, and motivation keeps them learning).
Finally, having students create their own pictures on the geoboard is a higher order thinking challenge than simply identifying points on a graph (which you find in most textbooks).
So my hope is that this simple coordinate graphing worksheet, combined with a geoboard, will not be the end of your teaching and exploration, but rather, the beginning.
Coordinate Graphing Worksheet:
To set up the geoboard, students use a rubber band to mark the x– and y– axes.
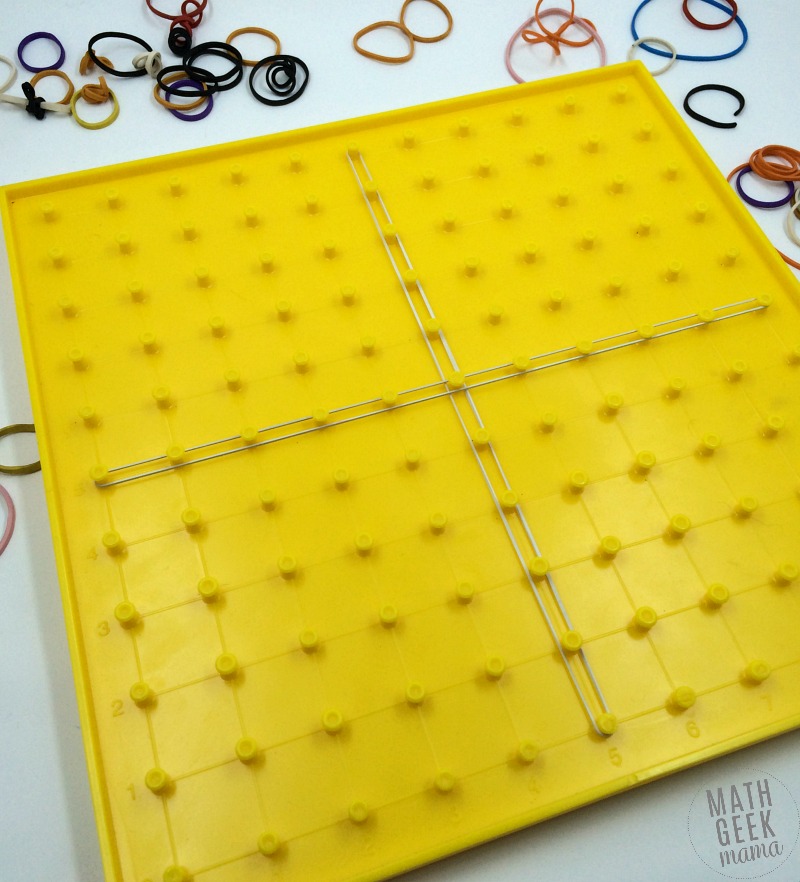
Then, the center of the board forms the origin (the point (0,0)) and students can practice graphing points in four quadrants.
Students then look at a series of points to determine what letters, numbers or shapes are formed when they are plotted on the graph.
To do this, the stretch rubber bands to mark each subsequent point, forming shapes and letters on their geoboard.
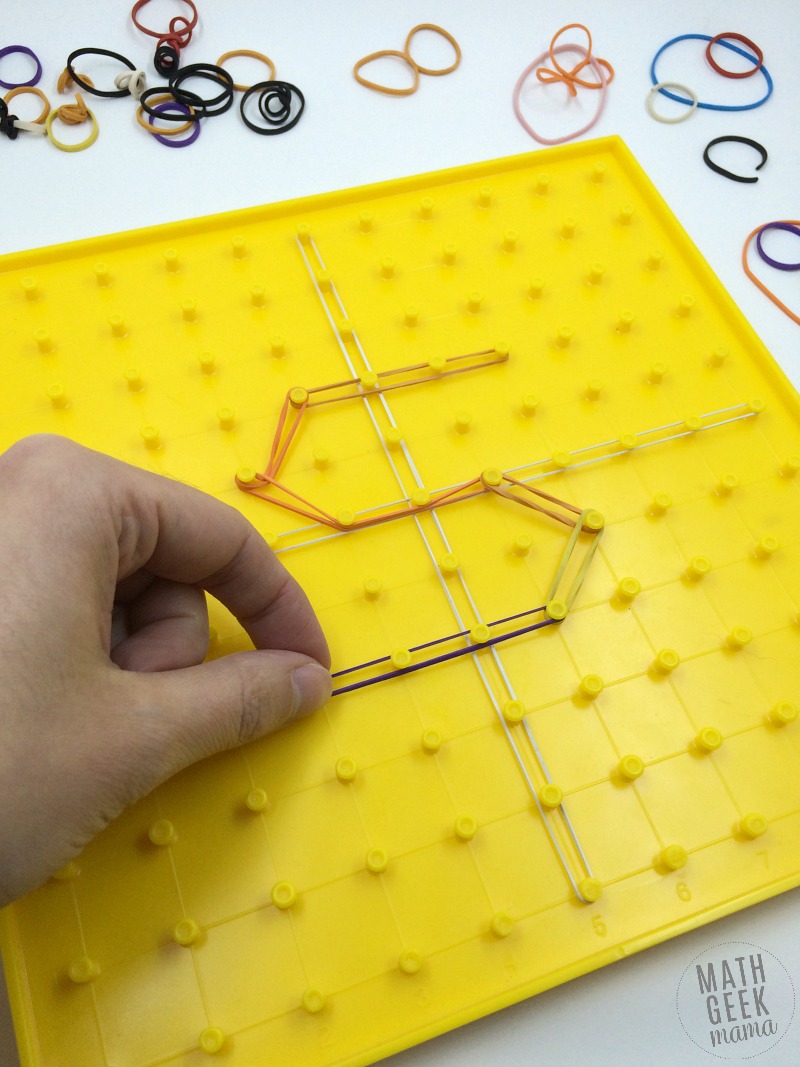
They are then given an example, and asked to write their own set of points for the given picture.
Finally, students are challenged to create their own example, and a set of points needed to create it.
This would make a great exit ticket challenge for students. (Or entry ticket-let them complete it for homework, then bring it to class the next day)
Simply have them complete this on a separate sheet of paper. They will have to write out the set of points in order, state what their object or letter is, and draw a sketch of it on a graph or on dot paper.
After you have checked their work, they can then work with a partner to challenge each other.
After introducing students, you can then turn other coordinate graphing worksheets into a fun, hands on exercise using geoboards.
Then boring worksheets are not so boring!
I hope you’re excited to start practicing graphing with geoboards.
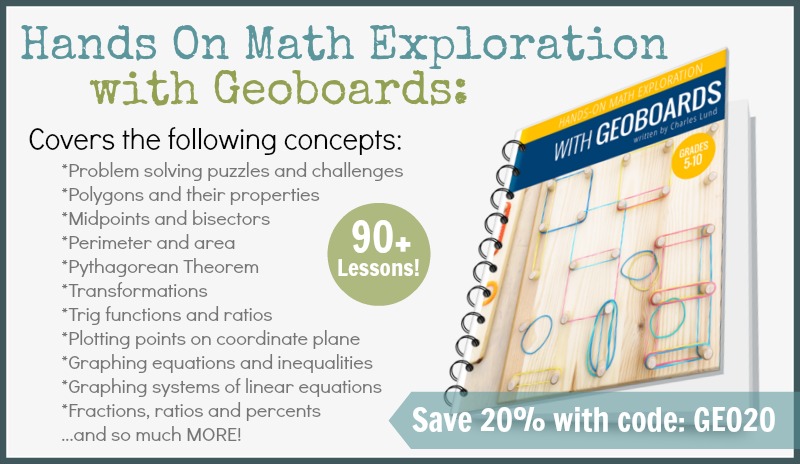
Want more quick and easy ideas to put your Geoboard to good use? This lesson is part of my complete resource book: Hands On Math Explorations with a Geoboard. Get the whole collection by clicking the image below.
Or if you’d like to get started with this simple worksheet, simply enter your email in the box below. You will receive a sample of 5 geoboard lessons to practice important Algebra and Geometry skills, as well as my weekly emails, full of fun tips, free resources and math learning ideas. 🙂
Get the Sample Lessons:

Sign up here to get the FREE sample of my ebook, Hands On Math Explorations with Geoboards. The sample includes 5 different math lessons for early Algebra and Geometry, as well as an answer key. You'll also receive my email newsletter with fun math teaching ideas, tips and offers as part of the Math Geek Mama community.



We have boxes of Geoboards that are not being used. Your lessons sound like a great way to put them back in classrooms.