Hands On Area and Perimeter Game {FREE Printable}
I love geometry units. It is easy to pull out the manipulatives and let children explore, build, and be creative.
Teaching area and the perimeter of shapes isn’t any different. There are so many hands-on ways for children to explore and create with this topic.
But like all math concepts, practice is needed….and this fun, STEM inspired Area and Perimeter Game is a great way to get some practice in. 🙂

*Please Note: This post contains affiliate links which help support the work of this site. Read our full disclosure here.*
This is a guest post from Rachel of You’ve Got This Math.
Before the Area and Perimeter Game:
If your children have not played with Cuisenaire Rods before, a little intro will help them be successful with the game.
One of the best ways to start with new manipulatives is to let the children explore. Most children love new materials, and they can’t wait to see what they can do with them. Allowing them to just “play” with them first has benefits.
First, they are more likely to pay attention to you when they aren’t thinking about how long before they can get their hands on the manipulatives. Second, even if they are just playing with them, they are making observations and connections that will help them when it is time to get to work.
Now it is time for some math, and a good place to start is with the value of each rod.
Begin by having them line up the rods in order from shortest to tallest. Now it is easy to see that the white equals one, the red two, the light green three and so on.
It may even be helpful to create a chart as a “cheat” sheet.
Area and Perimeter with Cuisenaire Rods
Next, the children need some time to explore area and perimeter with the rods.
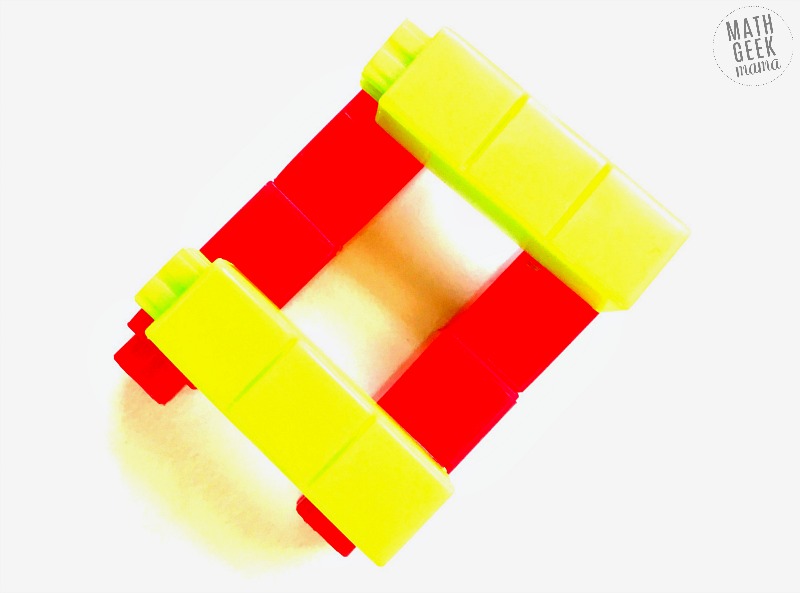
It is important to state here that you can actually get different areas and perimeters, even while using the same rods. In this example, the child has made a rectangle that is 4 by 3:
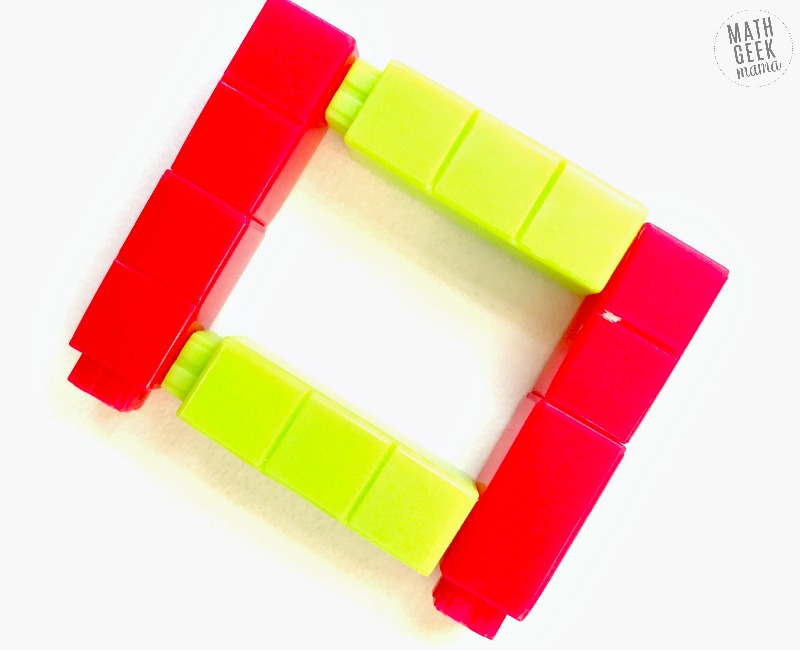
Yet in this example, because the rods are not overlapping, the child has made a rectangle that is 5 by 4:
Depending on the needs of your kiddos, you may want to start off with the very basics. It may also help them to be reminded that you find the area by multiplying the base times the height, and the perimeter by adding up all the sides.
Here are some fun area and perimeter challenges to get them used to creating and exploring area and perimeter with the rods:
- Make a square out of four whites. What is the area? What is the perimeter?
- Make a rectangle out of two whites and four reds? Now, what is the area and what is the perimeter?
- Create a pentagon. What is the perimeter?
- Create a triangle. What is the perimeter? What is the area? (If this is appropriate for your children, you may have to remind them that they have to know the height. So they could make a right triangle, or they could create a rectangle with a triangle in it.)
After they are understanding that, it is time to increase the difficulty. If they struggle with this, have them create equations before they even start with the rods:
- Can you make a rectangle that has a perimeter of four?
- Can you make a square that has an area of one?
- Now try making a rectangle that has a perimeter of 12?
- How about two rectangles with an area of 24?
When they can successfully build the shapes, they are ready for the game.
Area and Perimeter Game Prep Work:
- Print the game board
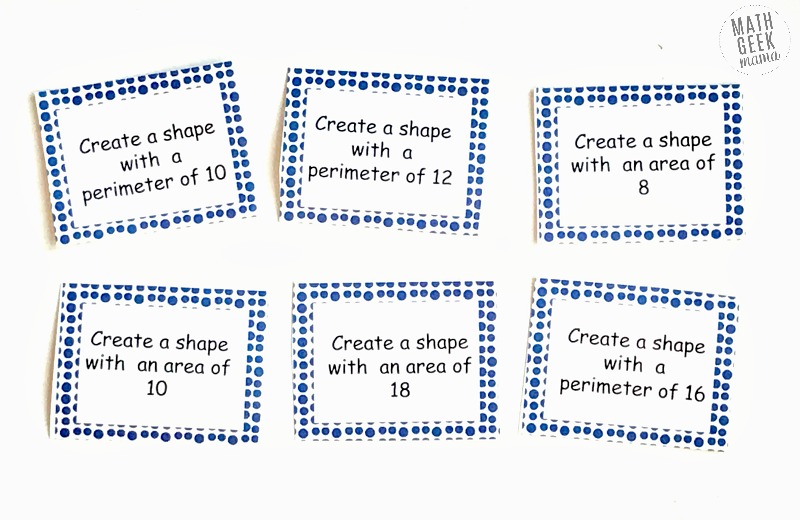
- Print off the challenge cards and cut out (laminate for durability)
- Gather up game markers, a die, and Cuisenaire rods (for this game, the students will only use the green rods, purple, yellow, blue, and red rods.)
Directions for the Hands On Area and Perimeter Game:
First, students draw two to four challenge cards (decide how many before you begin-you could also use just the perimeter or just the area challenges if you’re focusing on one or the other).
Next, students roll a die and move that many spaces.
Whatever color they land on is the color of the Cuisenaire rod they may pick up.
Note: if they land on green, they may choose either of the green rods.
Players continue rolling and moving around the board until they have enough rods to complete a challenge.
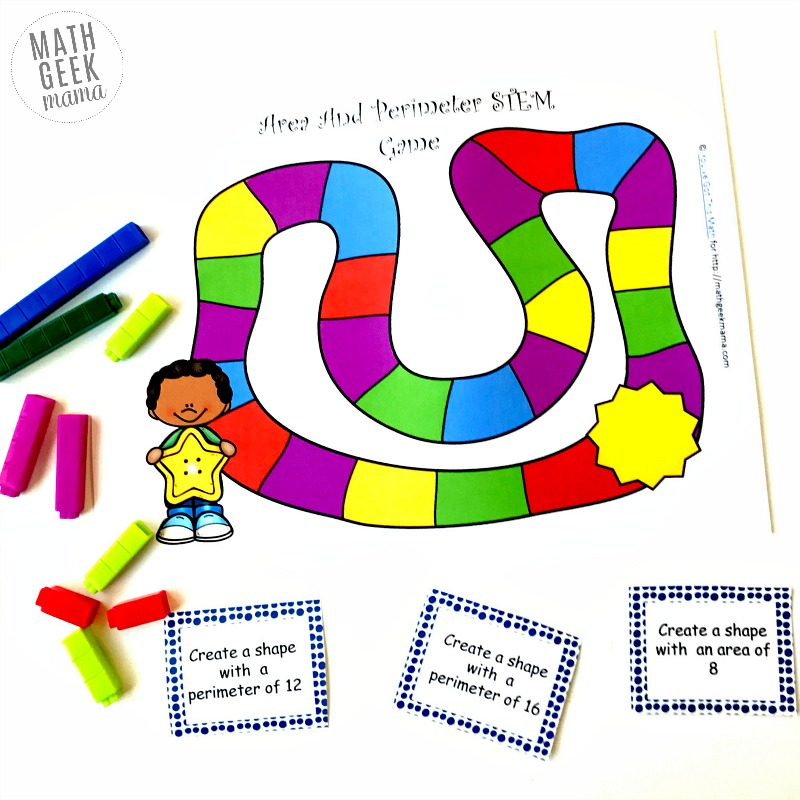
When they’re able, they use their rods to help them complete a challenge. (If they do not want to use a certain colored rod they can put it back in the pile.)
The first person that correctly completes one of their challenges wins.
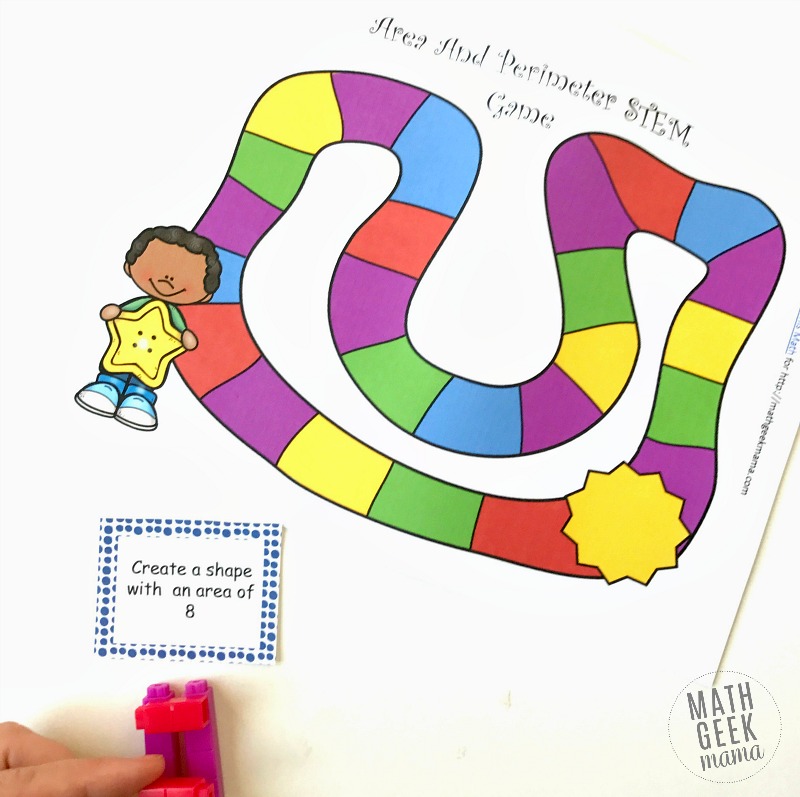
Have fun building and designing shapes!
You’ve Got This,
Rachel
{Click HERE to go to my shop and grab the FREE Area and Perimeter Game!}
Rachel is a homeschool mom to four little ones, ages 2 to 6. She is a former public elementary teacher, and has recently begun blogging at her page You’ve Got This. You can also find her on Facebook and Pinterest.




There seem to be a problem with the file, it does not take me to the add page!
Sorry! It should be fixed now…let me know if you still have trouble. 🙂
Thanks for looking into this for me and it’s working fine!